
Dollar Tree Christmas DIY Decorations
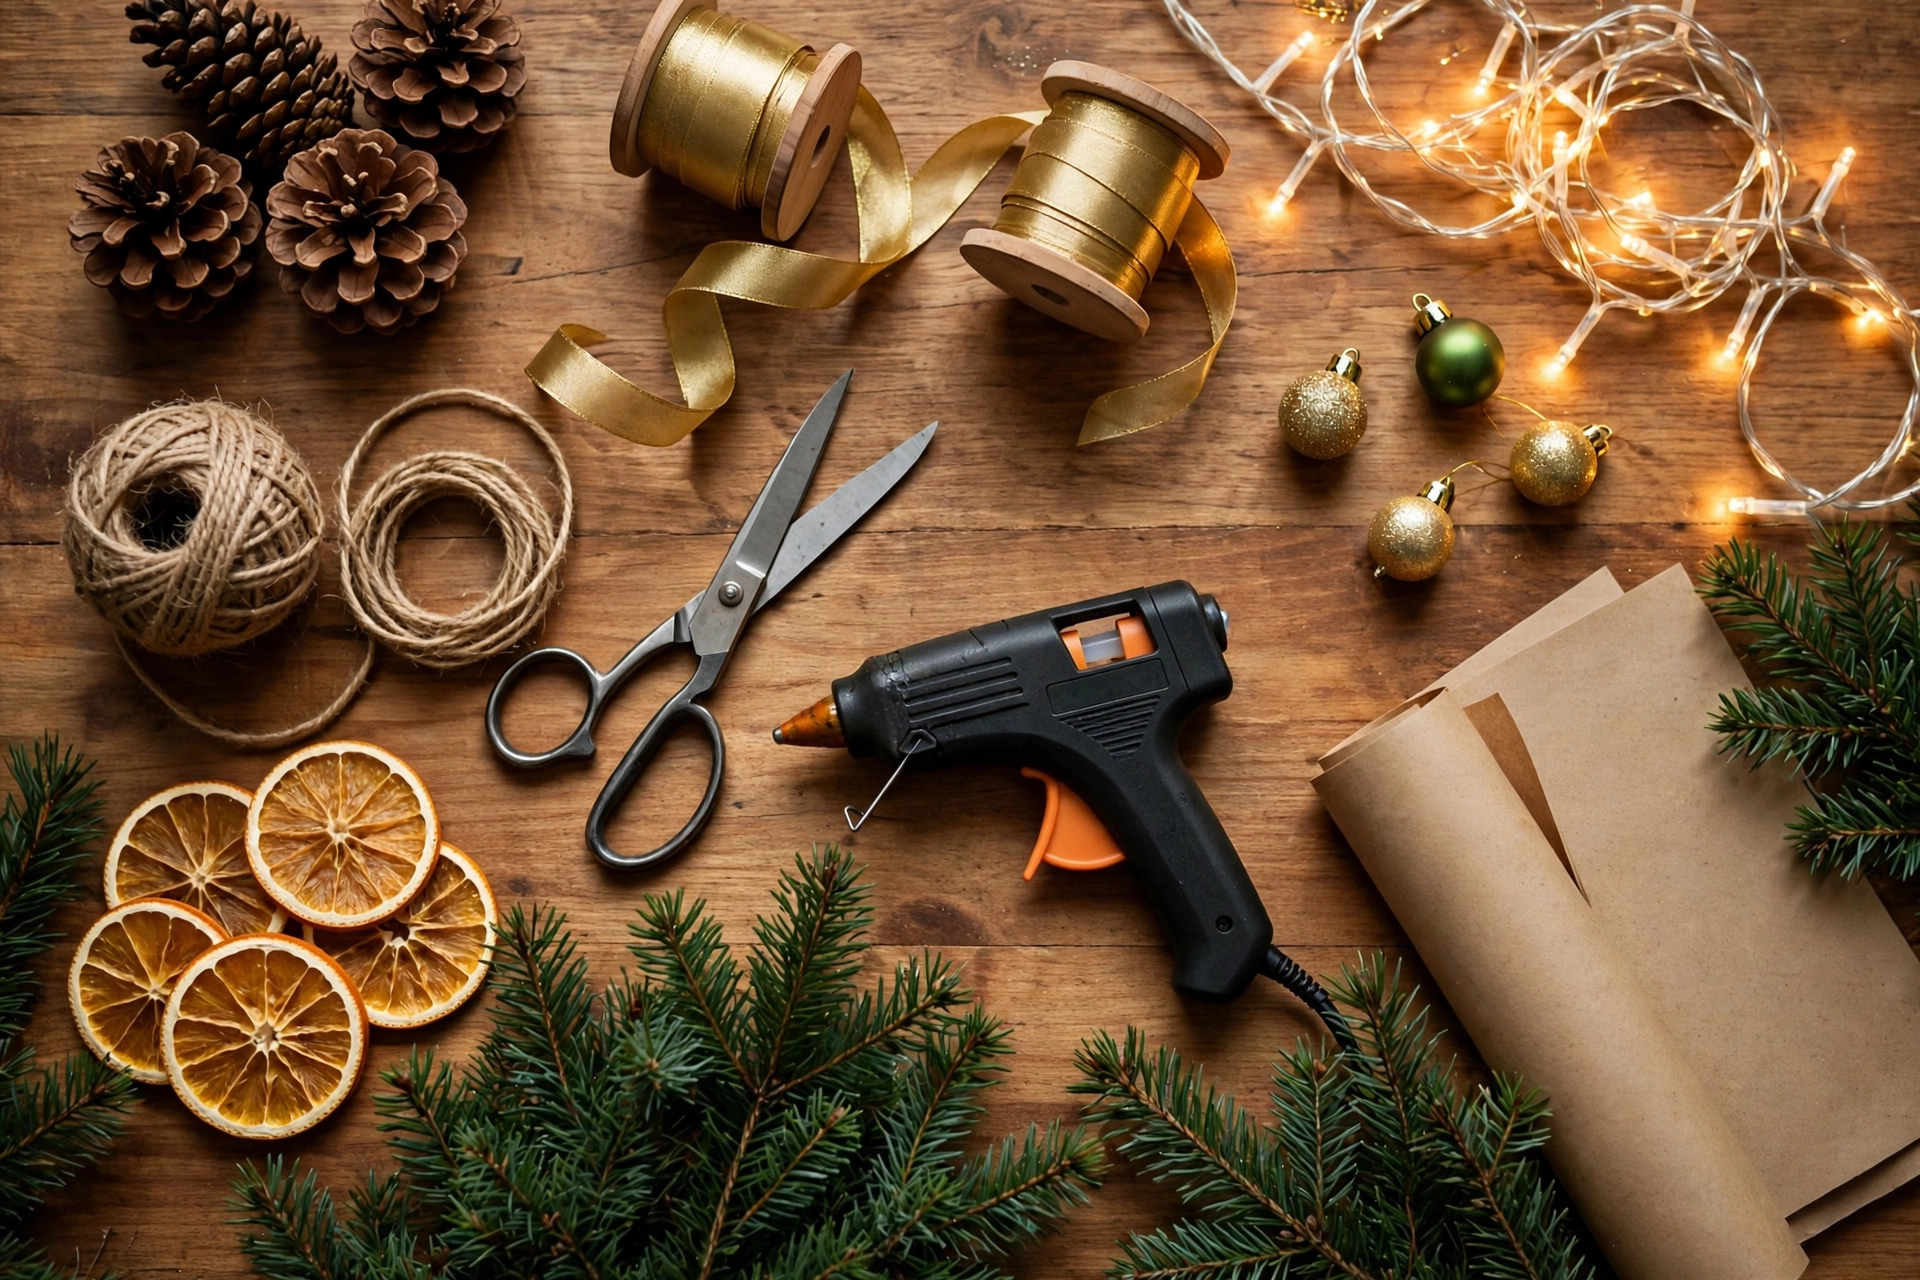
You can decorate your whole home for Christmas on a Dollar Tree budget. Every project on this page starts at $1.25 in supplies, and most cost under $10 total to make. You will find 30 step-by-step DIYs below – ornaments, wreaths, centerpieces, outdoor decor, mantel ideas, and candle displays – and each one lists its exact cost, the time it takes, and how hard it is, so you can pick projects that fit your weekend.
A quick note on pricing: Dollar Tree now carries $3 and $5 tiers in addition to the classic $1.25 price point. Every supply list below is written so you can start at $1.25 per item, and I flag the few projects where a $3 or $5 item is worth it. Nothing here requires a craft-store run or special tools beyond a glue gun, scissors, and a little patience.
How This Page Works
Each project below opens with three badges so you can scan fast:
- Cost – the total you will spend on Dollar Tree supplies, starting at $1.25 per item.
- Time – hands-on time, not counting glue or paint drying.
- Difficulty – Easy (no experience), Medium (a glue gun and steady hands), or Advanced (worth it, but take your time).
Projects marked Kid-safe are safe for little helpers to join in. Where hot glue or spray paint is involved, I note which steps are grown-up jobs. Ready? Grab a cart and let’s make something beautiful.
DIY Christmas Ornaments
1. Glitter Fillable Baubles
Cost: $4 | Time: 20 minutes | Difficulty: Easy | Kid-safe
Clear plastic fillable ornaments become custom glitter baubles in any color you like. They look like boutique ornaments that sell for $8 apiece, and the technique is simple enough for kids to help with.
Supplies: 4 clear fillable plastic ornaments ($1.25 each, craft aisle), 1 bottle clear-drying craft glue ($1.25), 1 pack fine glitter ($1.25).
- Open each ornament and remove the cap.
- Squirt about a teaspoon of glue inside and swirl to coat the whole interior.
- Pour out the extra glue back into the bottle.
- Add a spoonful of glitter, close the opening with your thumb, and shake until coated.
- Pour out loose glitter onto paper (save it for the next ornament).
- Let dry upright for 2 hours, then replace caps and add ribbon hangers.
Make it look expensive: Mix two glitter tones – champagne and gold – in the same ornament for a dimensional, high-end finish instead of flat craft glitter.
2. Buffalo Plaid Ribbon Ornaments
Cost: $5 | Time: 30 minutes | Difficulty: Easy | Kid-safe
Foam balls wrapped in buffalo plaid ribbon make cozy farmhouse ornaments that match any rustic tree. No glue required, so this is a perfect living-room craft with kids.
Supplies: 1 pack foam balls, 3 inches ($1.25), 2 rolls buffalo plaid ribbon ($1.25 each), straight pins ($1.25).
- Cut ribbon into 4-inch strips.
- Fold each strip in half and pin the folded end into the foam ball with a straight pin.
- Overlap strips in rows until the ball is fully covered, working from the bottom up.
- Tuck the last row’s raw edges under the previous row.
- Pin a ribbon loop at the top for hanging.
Make it look expensive: Use red-and-black plaid on half the balls and cream-and-tan on the other half – the two-tone set reads as a curated collection.
3. Chalkboard Message Ornaments
Cost: $3 | Time: 25 minutes | Difficulty: Easy | Kid-safe
Small chalkboard tags or wood-slice ornaments become personalized keepsakes with family names, dates, or short holiday phrases. Make one for each person at the table.
Supplies: 1 pack wood-slice or chalkboard ornaments ($1.25), 1 white chalk marker ($1.25), twine for hangers (on hand or $1.25).
- If using wood slices, paint one side with chalkboard paint and let dry (chalkboard tags skip this step).
- Season the surface by rubbing chalk across it and wiping off.
- Write names, the year, or words like Joy and Noel with the chalk marker.
- Let the marker dry 10 minutes so it does not smudge.
- Thread twine through the hole and knot for hanging.
Make it look expensive: Write in a simple script style and add a tiny drawn sprig or star – lettering is what separates charming from crafty.
4. Cinnamon Stick Bundle Ornaments
Cost: $4 | Time: 15 minutes | Difficulty: Easy | Kid-safe
Bundles of cinnamon sticks tied with twine smell wonderful and look like something from a holiday market stall. Hang them on the tree or tie them onto wrapped gifts.
Supplies: 2 packs cinnamon sticks ($1.25 each), 1 roll natural twine ($1.25), 1 pack faux pine sprigs ($1.25).
- Group 5 to 6 cinnamon sticks into a neat bundle.
- Wrap twine tightly around the middle three times and knot.
- Tuck a small faux pine sprig under the twine.
- Tie a twine loop at the top for hanging.
- Repeat to make a matching set of six.
Make it look expensive: Add one dried orange slice to each bundle – the color contrast looks straight out of a styling shoot.
5. Mini Snow Globe Jars
Cost: $6 | Time: 30 minutes | Difficulty: Medium | Kid-safe (grown-up glues lids)
Small plastic jars become snow globes with bottle-brush trees inside – kids love making these as gifts for grandparents, and they cost a fraction of store-bought globes.
Supplies: 4 small plastic jars with lids ($1.25 each), 1 pack mini bottle-brush trees ($1.25), 1 pack faux snow or white glitter ($1.25), waterproof glue ($1.25).
- Glue a mini tree to the inside of each jar lid. Let cure fully.
- Fill the jar three-quarters full with water and add a drop of clear glue.
- Sprinkle in a teaspoon of faux snow.
- Apply waterproof glue around the lid threads and screw the lid on tight.
- Turn upright, add a ribbon bow around the lid, and shake gently.
Make it look expensive: Paint the lids matte gold before assembling – a finished lid hides the mason jar craft look instantly.
Wreaths and Door DIYs
6. Faux Eucalyptus Hoop Wreath
Cost: $7 | Time: 40 minutes | Difficulty: Easy
A minimalist metal hoop with eucalyptus looks modern and fresh – the kind of wreath that sells for $40 at home stores. It suits front doors, interior walls, and above mantels.
Supplies: 1 metal craft hoop, 14-inch ($1.25), 4 packs faux eucalyptus stems ($1.25 each), floral wire ($1.25).
- Lay eucalyptus stems around the bottom two-thirds of the hoop, overlapping in one direction.
- Wrap floral wire tightly around stems and hoop every 3 inches.
- Layer a second row of stems over the first for fullness.
- Trim stem ends at an angle so they lie flat.
- Hang with a wide satin ribbon tied at the top of the hoop.
Make it look expensive: Leave the top third of the hoop bare – restraint is what makes this look designer rather than homemade.
7. Deco Mesh Holiday Wreath
Cost: $10 | Time: 1 hour | Difficulty: Medium
Big, poufy deco mesh wreaths make a bold front-door statement in classic red and green or icy winter white. This is the highest-impact wreath on the list.
Supplies: 1 wire wreath form, 18-inch ($1.25), 4 rolls deco mesh ($1.25 each), 1 roll wired ribbon ($1.25), pipe cleaners ($1.25).
- Attach pipe cleaners to the wreath form every 4 inches.
- Cut mesh into 10-inch squares. Pinch the center of each square into a poof.
- Twist a pipe cleaner around each poof to secure it to the form.
- Work around the form twice for full coverage.
- Tuck wired ribbon loops between poofs and fluff everything outward.
- Hang with a wreath hanger over the door.
Make it look expensive: Stick to two mesh colors plus one ribbon – a limited palette looks intentional and lush instead of busy.
8. Ornament Cluster Wreath
Cost: $12 | Time: 1.5 hours | Difficulty: Medium
Dozens of shatterproof ornaments glued to a form create a dense, jewel-like wreath that glows on the door. It is a bigger time investment, but the result rivals $60 store wreaths.
Supplies: 1 foam or wire wreath form ($1.25), 6 packs shatterproof ornaments, assorted sizes ($1.25 each), hot glue sticks ($1.25).
- Remove ornament caps (save them – they can scratch the finish).
- Hot-glue the largest ornaments around the form first, spacing evenly.
- Fill gaps with medium ornaments, then small ones.
- Tuck tiny ornaments into any remaining holes.
- Glue a wide ribbon loop to the back for hanging.
- Let cool completely before hanging.
Make it look expensive: Use ornaments in one color family with mixed finishes – shiny, matte, and glitter – for depth that reads as custom.
9. Pinecone and Berry Grapevine Wreath
Cost: $8 | Time: 45 minutes | Difficulty: Easy
A natural grapevine wreath dressed with pinecones and red berries suits every style from farmhouse to traditional, and it transitions from fall to Christmas with a ribbon swap.
Supplies: 1 grapevine wreath, 18-inch ($3 tier item), 2 packs pinecones ($1.25 each), 1 pack red berry picks ($1.25), hot glue sticks ($1.25).
- Arrange pinecones on the wreath without glue until you like the layout.
- Hot-glue pinecones in place, pressing firmly for 10 seconds each.
- Tuck berry picks between pinecones and glue the stems.
- Add a burlap bow at the top or bottom.
- Shake gently to check everything is secure before hanging.
Make it look expensive: Lightly brush pinecone tips with white craft paint for a frosted look – it adds the winter without any extra cost.
10. Snowy Wooden Door Hanger
Cost: $5 | Time: 1 hour (plus drying) | Difficulty: Easy | Kid-safe (painting steps)
A vertical wood plank sign with a holiday greeting welcomes guests even if you skip the wreath this year. Kids can do the base painting while grown-ups handle stencils.
Supplies: 1 wood plank sign ($1.25), white and red craft paint ($1.25 each), letter stencils ($1.25), sponge brush ($1.25).
- Paint the plank white and let dry completely.
- Lightly sand edges for a weathered look (optional).
- Position stencils spelling MERRY vertically and sponge red paint through.
- Remove stencils while paint is slightly tacky for crisp lines.
- Seal with a clear spray sealer if hanging outdoors.
- Attach twine or ribbon to the pre-drilled holes for hanging.
Make it look expensive: Distress the edges with sandpaper after painting – perfectly crisp craft paint is what gives away a DIY sign.
Table Centerpieces
11. Candle and Pinecone Tray
Cost: $9 | Time: 20 minutes | Difficulty: Easy
A wooden tray layered with LED candles, pinecones, and greenery is a centerpiece you can assemble in minutes and use all season. It also makes a lovely hostess gift.
Supplies: 1 wood tray ($3 tier item), 3 LED pillar candles ($1.25 each), 1 pack pinecones ($1.25), 1 pack faux greenery ($1.25).
- Place the three candles on the tray at varying heights (stack one on a small wood slice).
- Tuck greenery sprigs around the candle bases.
- Nestle pinecones between the greenery.
- Add a few red berry picks for color.
- Step back and adjust until it looks full from every side.
Make it look expensive: Vary heights deliberately – one tall, one medium, one short – because matched sets look mass-produced.
12. Floating Cranberry Candle Bowls
Cost: $6 | Time: 15 minutes | Difficulty: Easy
Glass bowls filled with water, faux cranberries, and floating candles create a glowing centerpiece that takes minutes. Perfect for Christmas dinner when you are short on time.
Supplies: 2 glass bowls ($1.25 each), 1 pack faux cranberries ($1.25), 1 pack floating candles ($1.25), fresh rosemary sprigs (optional).
- Fill each bowl two-thirds full with water.
- Drop in a handful of faux cranberries.
- Tuck in rosemary sprigs if using.
- Set 2 to 3 floating candles on the surface of each bowl.
- Light just before guests arrive.
Make it look expensive: Use two bowls of different sizes side by side rather than one – odd-numbered groupings look styled, not staged.
13. Mini Bottle-Brush Tree Forest
Cost: $7 | Time: 25 minutes | Difficulty: Easy | Kid-safe
A cluster of bottle-brush trees in different heights and colors makes a playful, modern centerpiece kids can help arrange. Let them pick the layout.
Supplies: 3 packs bottle-brush trees, assorted sizes ($1.25 each), 1 wood slice or tray ($1.25), faux snow ($1.25).
- Arrange trees on the wood slice from tallest in back to shortest in front.
- Sprinkle faux snow around the bases.
- Add tiny ornaments or a string of micro fairy lights if you like.
- Fluff each tree’s bristles outward for fullness.
Make it look expensive: Dust the trees with a light spray of white paint for a flocked effect – flocked trees always look pricier.
14. Rustic Log Slice Centerpiece
Cost: $8 | Time: 20 minutes | Difficulty: Easy
Wood slices stacked with greenery and cream candles bring a woodland feel to the dining table. This one works from Thanksgiving straight through New Year.
Supplies: 3 wood slices, assorted sizes ($1.25 each), 2 packs faux greenery ($1.25 each), 3 cream LED taper candles ($1.25 each).
- Place the largest wood slice in the center of the table.
- Overlap the two smaller slices on either side.
- Lay greenery garland-style across all three slices.
- Set taper candles among the greenery at varied heights.
- Scatter a few pinecones to finish.
Make it look expensive: Use cream or ivory candles instead of white – warm tones photograph better and feel more upscale.
15. Candy Cane Vase Filler
Cost: $5 | Time: 10 minutes | Difficulty: Easy | Kid-safe
A clear cylinder vase packed with candy canes and topped with flowers is the fastest centerpiece on this list – and kids love assembling it.
Supplies: 1 glass cylinder vase ($1.25), 3 boxes candy canes ($1.25 each), 1 pack white faux flowers ($1.25).
- Stand candy canes upright around the inside wall of the vase.
- Fill the center with crumpled tissue to hold flowers.
- Insert white faux flowers so they fan out over the rim.
- Tie a red ribbon bow around the vase.
Make it look expensive: Keep the candy canes perfectly vertical and uniform – precision is what makes this look like a florist piece.
Outdoor Christmas Decorations
16. Tomato Cage Christmas Trees
Cost: $10 | Time: 1 hour | Difficulty: Medium
Upside-down tomato cages wrapped in garland become glowing yard trees for a fraction of store prices. Make two to flank the walkway.
Supplies: 2 tomato cages ($1.25 each), 4 packs green garland ($1.25 each), 1 pack outdoor string lights ($1.25), zip ties ($1.25).
- Flip each tomato cage upside down so the wide end is at the bottom.
- Zip-tie the three prongs together at the top to form a peak.
- Starting at the bottom, spiral garland around the cage, securing with zip ties every 6 inches.
- Wrap string lights over the garland in the same spiral.
- Top with a large bow or star.
- Anchor with tent stakes so wind cannot topple them.
Make it look expensive: Use two garland tones – dark green plus a frosted one – so the trees have depth instead of flat color.
17. Lighted Gift Boxes for the Yard
Cost: $9 | Time: 45 minutes | Difficulty: Easy
Empty boxes wrapped like presents and lit from within look magical lining a walkway or stacked by the door. They photograph beautifully at dusk.
Supplies: 3 cardboard boxes, various sizes (on hand or $1.25), 2 rolls wrapping paper ($1.25 each), 1 pack outdoor string lights ($1.25), wide ribbon ($1.25).
- Wrap each box like a present, taping paper securely.
- Cut a small hole in the bottom of each box.
- Thread a section of string lights into each box through the hole.
- Tie wide ribbon around each box like a gift bow.
- Cover with a clear bag slit at the bottom if rain is expected.
- Arrange along the walkway and plug in at dusk.
Make it look expensive: Wrap all boxes in the same paper with matching ribbon – a coordinated set looks deliberate, not leftover. For more wrapping inspiration, see our DIY gift wrapping ideas.
18. Oversized Yard Ornaments
Cost: $8 | Time: 30 minutes | Difficulty: Easy
Giant ornaments made from plastic balls add oversized cheer to bushes, porches, and yard trees. They are a favorite for families who go big on outdoor decor.
Supplies: 3 large plastic balls ($3 tier item each – check the toy aisle), metallic spray paint ($5 tier item, one can covers all), wire for hangers ($1.25).
- Wipe balls clean and let dry.
- Spray with metallic paint in light, even coats (grown-up job – ventilated area).
- Apply 2 to 3 coats, drying between each.
- Thread wire through the top to make a hanger loop.
- Hang from shepherd’s hooks, porch beams, or low tree branches.
Make it look expensive: A matte metallic finish (champagne or brushed gold) looks far more high-end than glossy primary colors.
19. Porch Lantern Planters
Cost: $10 | Time: 30 minutes | Difficulty: Easy
Planters filled with greenery, pinecones, and a lantern glow make the entry feel welcoming after dark. A pair flanking the door is classic for a reason.
Supplies: 2 planters ($1.25 each), 4 packs faux greenery ($1.25 each), 1 pack pinecones ($1.25), 2 LED lanterns ($1.25 each).
- Fill each planter with crumpled newspaper for bulk.
- Insert greenery stems at angles so they fan outward.
- Tuck pinecones and red berry picks throughout.
- Nestle an LED lantern in the center of each planter.
- Set the lantern timers so they glow each evening automatically.
Make it look expensive: Use matching planters and identical arrangements on both sides of the door – symmetry reads as professional styling.
20. Giant Bows for Lamp Posts and Mailboxes
Cost: $5 | Time: 20 minutes | Difficulty: Easy
Oversized bows tied to lamp posts, mailboxes, or porch columns add instant Christmas curb appeal for almost no money.
Supplies: 2 rolls wide wired ribbon ($1.25 each), 1 pack greenery picks ($1.25), zip ties ($1.25).
- Cut a 3-foot length of wired ribbon for the bow.
- Form two large loops and a center loop, pinching the middle.
- Secure the center with a zip tie pulled tight.
- Cut two long tails and notch the ends in a V.
- Wire a greenery pick behind the bow.
- Attach to the post with a second zip tie or weatherproof wire.
Make it look expensive: Wired ribbon is non-negotiable – it holds crisp loops that cheap ribbon cannot, and Dollar Tree’s wired ribbon is a genuine steal.
Tree Collars, Villages and Mantel DIYs
21. Faux Metal Tree Collar
Cost: $6 | Time: 1 hour | Difficulty: Medium
Tree collars hide the stand and look tailored. This version fakes galvanized metal with paint and texture for under $6.
Supplies: 1 large cardboard box or 4 foam boards ($1.25 each), gray and silver craft paint ($1.25 each), packing tape ($1.25).
- Measure your tree stand and cut four trapezoid panels that taper slightly inward at the top.
- Tape panels into a four-sided collar with packing tape inside the seams.
- Paint the outside gray and let dry.
- Dry-brush silver paint over the gray for a galvanized effect.
- Slip the collar around the tree stand once the tree is up.
Make it look expensive: The dry-brush technique is everything – barely any paint on the brush creates the mottled metal look that sells the illusion.
22. Faux Brick Fireplace Facade
Cost: $12 | Time: 2 hours | Difficulty: Advanced
No fireplace? Build a flat facade from boxes and brick-pattern paper – it gives stockings a home and family photos a backdrop. The most ambitious project here, and worth it.
Supplies: 4 large cardboard boxes (on hand or $1.25 each), 2 rolls brick-pattern wrapping paper or contact paper ($1.25 each), 1 wood-grain contact paper roll ($1.25), packing tape ($1.25).
- Tape boxes into two tall columns and one wide top beam, forming an upside-down U.
- Wrap every surface in brick-pattern paper, smoothing as you go.
- Cover the top beam’s front edge with wood-grain contact paper for a mantel look.
- Cut a black paper rectangle for the firebox opening and tape inside.
- Place LED candles inside the firebox for glow.
- Lean stockings on the mantel with removable hooks (do not hang heavy items).
Make it look expensive: Add a real wood board across the top as the mantel shelf – one authentic material elevates the whole illusion.
23. Christmas Village Display
Cost: $11 | Time: 45 minutes | Difficulty: Easy | Kid-safe
Dollar Tree’s ceramic village houses become a charming mantel village with snow, lights, and risers for depth. Kids love arranging the houses each year.
Supplies: 5 ceramic village houses ($1.25 each), 1 pack faux snow blanket ($1.25), 1 pack micro fairy lights ($1.25), 2 wood crates or boxes for risers ($1.25 each).
- Drape the faux snow blanket across the mantel or table.
- Place crates at the back as risers, covered with snow.
- Arrange houses tallest in back, smallest in front.
- Weave fairy lights between the houses.
- Sprinkle loose faux snow over everything for a fresh-fallen look.
Make it look expensive: Odd numbers of houses in varied heights look collected over time – symmetry is the enemy of a believable village.
24. Stocking Ladder Display
Cost: $9 | Time: 30 minutes | Difficulty: Easy
A small decorative ladder becomes a stocking holder with greenery woven through the rungs – perfect when there is no mantel.
Supplies: 1 decorative wood ladder ($5 tier item), 4 stockings ($1.25 each), 2 packs faux greenery ($1.25 each).
- Lean the ladder against the wall at a slight angle.
- Weave greenery garland through the rungs from top to bottom.
- Hang one stocking from each rung with ribbon loops.
- Add small ornaments tucked into the greenery.
- Place a lantern or wrapped gift at the base.
Make it look expensive: Use stockings in one color story – all cream cable-knit, for example – instead of mixed novelty prints.
25. Wood Beam Stocking Holder
Cost: $7 | Time: 40 minutes | Difficulty: Medium
A stained wood plank with hooks holds stockings on any wall or mantel – and it stores flat after Christmas.
Supplies: 1 wood plank ($1.25), wood stain or brown paint ($1.25), 4 adhesive or screw-in hooks ($1.25 per pack), twine ($1.25).
- Stain or paint the plank and let dry completely.
- Lightly sand for a rustic finish.
- Space hooks evenly along the plank (one per stocking).
- Attach twine to each end for hanging, or lean on a mantel.
- Hang stockings and add a greenery swag across the top.
Make it look expensive: Stain beats paint here – visible wood grain always looks more premium than flat craft paint.
Candles and Lanterns
26. Frosted Glass Lanterns
Cost: $6 | Time: 30 minutes (plus drying) | Difficulty: Easy
Plain glass cylinders get a frosted winter finish that diffuses LED candlelight beautifully. Group three together for a mantel moment.
Supplies: 3 glass cylinders ($1.25 each), frosted glass spray paint ($5 tier item), painter’s tape ($1.25).
- Clean cylinders and tape off any areas to keep clear (a stripe or snowflake stencil looks great).
- Spray light, even coats of frost paint (grown-up job – ventilated area).
- Apply 2 coats, drying 15 minutes between.
- Remove tape to reveal clear designs.
- Place LED candles inside – never real flames in enclosed glass.
Make it look expensive: Leave a clear snowflake or stripe unpainted – the contrast between frost and clear glass looks custom-made.
27. Flameless Candle Cluster
Cost: $8 | Time: 15 minutes | Difficulty: Easy | Kid-safe
A cluster of LED pillar candles at different heights, ringed with greenery, is the easiest elegant decor on this list. No tools, no mess.
Supplies: 5 LED pillar candles, assorted heights ($1.25 each), 1 pack faux greenery ($1.25), 1 round mirror or tray ($1.25).
- Place the mirror or tray where the cluster will live.
- Arrange candles tallest in the center, shorter around the edges.
- Tuck greenery sprigs around the bases to hide the bottoms.
- Add pinecones or ornaments between candles.
- Switch all candles on at dusk with their timers.
Make it look expensive: The mirror underneath doubles the glow and makes five candles look like ten – reflection is free luxury.
28. Cinnamon Candle Wraps
Cost: $5 | Time: 20 minutes | Difficulty: Easy
Pillar candles wrapped in cinnamon sticks look and smell like the holidays – a classic for good reason. They make wonderful gifts too.
Supplies: 2 LED or wax pillar candles ($1.25 each), 2 packs cinnamon sticks ($1.25 each), natural twine ($1.25).
- Stand cinnamon sticks vertically around each candle.
- Wrap twine tightly around the middle twice and knot.
- Trim stick tops level with the candle top if needed.
- Tie a small sprig of greenery into the twine knot.
- If using wax candles, never leave burning unattended near the sticks.
Make it look expensive: Use sticks of similar length and line up the tops – uneven sticks are the difference between rustic and messy.
29. Snowy Mason Jar Luminaries
Cost: $7 | Time: 40 minutes (plus drying) | Difficulty: Medium | Kid-safe (grown-up handles sealer)
Mason jars coated in faux snow and filled with tea lights line mantels, steps, and walkways with a soft glow. Make a dozen for a real statement.
Supplies: 4 mason-style jars ($1.25 each), white craft glue ($1.25), Epsom salt ($1.25), LED tea lights ($1.25 per pack).
- Brush a thin, even coat of glue over the outside of each jar.
- Roll the jar in Epsom salt until fully coated.
- Shake off excess and let dry 2 hours.
- Lightly spray with clear sealer so the snow does not shed (grown-up job).
- Drop an LED tea light in each jar.
- Line them along the mantel or steps.
Make it look expensive: Epsom salt sparkles like real snow crystals under candlelight – finer than craft snow and a fraction of the price.
30. Window Candle Silhouettes
Cost: $6 | Time: 15 minutes | Difficulty: Easy
A row of electric candles in every front window is the single most classic Christmas look – and the cheapest to achieve on this list.
Supplies: 4 plug-in or battery window candles ($1.25 each), window candle suction holders if needed ($1.25).
- Place one candle centered in each front-facing window.
- Secure with suction holders or set on the sill.
- Set all candles to the same timer so they glow together at dusk.
- Use warm-white bulbs only – cool white looks stark, not cozy.
Make it look expensive: Consistency is the trick – same candle, same height, same warm glow in every window reads as intentional design.
Your 2026 Dollar Tree Shopping Guide
Knowing where to look saves a wasted trip. Here is what to grab in each aisle, starting at $1.25 per item unless noted:
Craft aisle
Foam balls, wood slices, chalkboard tags, fillable ornaments, floral wire, pipe cleaners, craft paint, glitter, stencils, and ribbons – including wired ribbon, which is the single best value in the store. Stock up on hot glue sticks here; you will use more than you think.
Floral aisle
Faux greenery, eucalyptus stems, berry picks, pinecones, and floral foam. Buy greenery in multiples – one pack never covers as much as you expect. Check stems for fullness before buying; quality varies by shipment.
Seasonal aisle
Ornaments, bottle-brush trees, LED candles, village houses, stockings, and wrapping paper. This aisle turns over fastest – shop it first, in October if you can.
Home and kitchen aisles
Glass cylinders, mason-style jars, trays, mirrors, and planters. The $3 and $5 tiers live here too – larger trays, decorative ladders, and lanterns that are still far cheaper than home stores.
Hardware and party aisles
Zip ties, twine, painter’s tape, spray paint, and Epsom salt (check the pharmacy section too). Do not skip these – they are the unglamorous supplies that make projects actually work.
For more inspiration beyond DIYs, browse our Christmas decor ideas and outdoor Christmas decorations guides to plan your whole-home look.
Make It Look High-End: 7 Finishing Rules
- Limit your palette. Two or three colors per project – never five. Restraint reads as expensive.
- Mix textures, not colors. Shiny, matte, glitter, and natural textures in one color family create depth cheaply.
- Hide the mechanics. Tuck glue blobs under greenery, wrap wire in ribbon, and cover foam with moss. Visible mechanics scream DIY.
- Finish the edges. Sand rough cuts, tuck raw ribbon ends, and paint the backs of signs. People notice edges.
- Go bigger than feels natural. Small, sparse arrangements look cheap; full, generous ones look lush. Buy one more pack of greenery than you think you need.
- Light it warm. Warm-white lights and candles flatter every material. Cool white makes budget supplies look colder and cheaper.
- Repeat elements. The same ornament, ribbon, or greenery appearing in three places ties a room together like a designer planned it.
Frequently Asked Questions
Do Dollar Tree Christmas DIYs look cheap?
Not if you finish them well. The giveaways are visible glue, clashing colors, and sparse arrangements – all fixable with the finishing rules above. Guests consistently mistake well-made Dollar Tree projects for boutique decor, especially wreaths, candle displays, and ornament sets.
What sells out first at Dollar Tree during the holidays?
Wired ribbon, bottle-brush trees, LED candles, and the popular ornament multipacks disappear first – often by early November. Shop in October for the best selection, and check back on weekday mornings when new shipments are stocked.
Does it matter which Dollar Tree store I shop at?
Yes, more than you would expect. Larger stores and newer locations tend to carry the $3 and $5 tiers with better craft and home selections. If your local store is picked over, try another location across town – inventory varies widely store to store.
Are these projects safe to make with kids?
Many are – every kid-safe project is flagged above. Kids can paint, glitter, arrange, and tie (with help). Keep little hands away from hot glue guns, spray paint, and sharp wire cutters; grown-ups should handle those steps and let kids do the decorating.
Last updated: October 2026