
Christmas Wall Decor Ideas
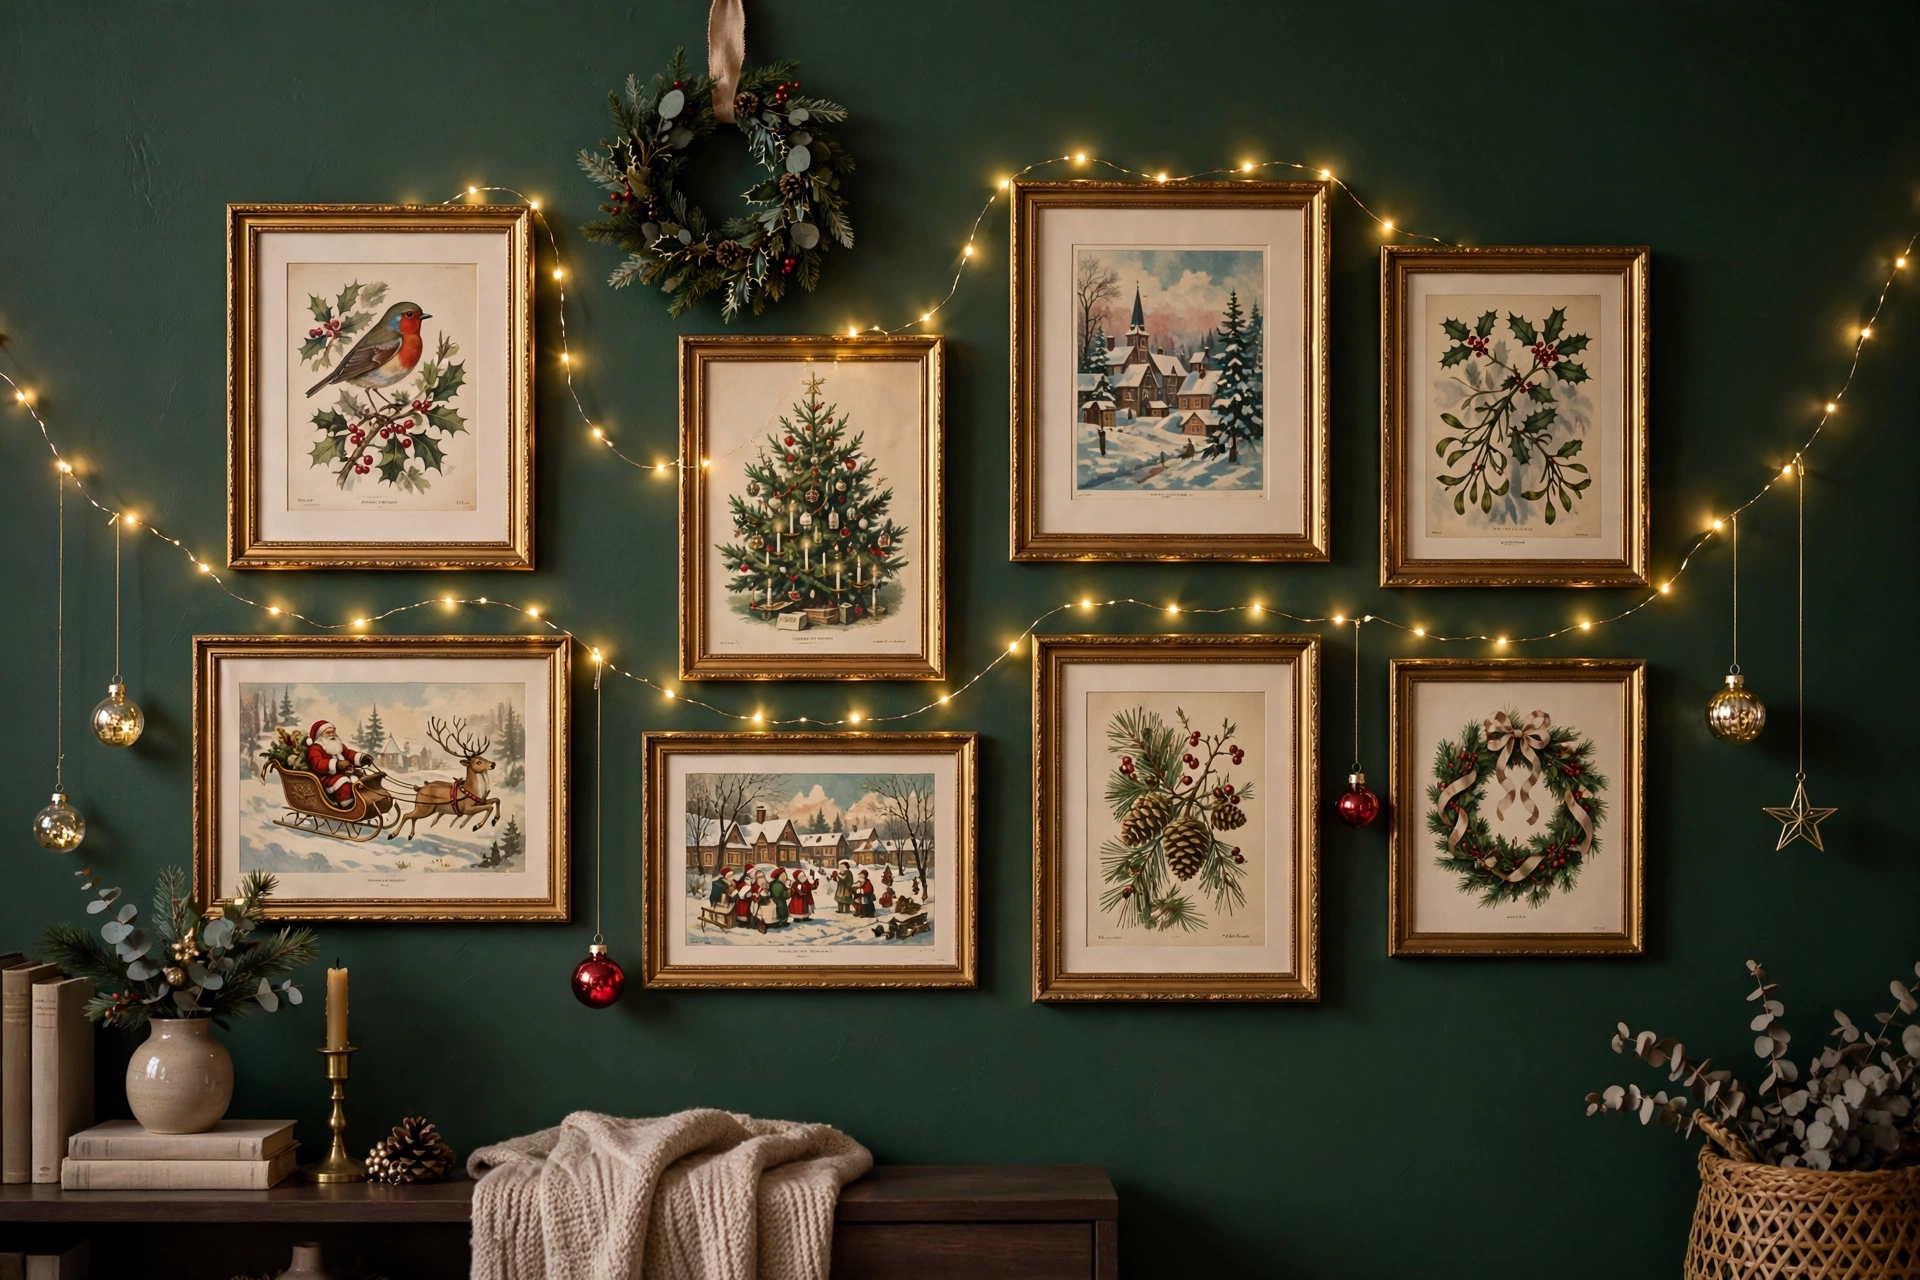
Walls are the most overlooked decorating surface at Christmas. While everyone focuses on the tree, a few thoughtful wall displays can make your whole home feel festive – and most of them cost almost nothing. This guide collects 35 Christmas wall decor ideas, from simple paper crafts to renter-friendly decals, and every single one includes the exact hanging method so nothing damages your walls.
Nearly every idea below is renter-friendly. You will see damage-free hanging options throughout, plus a complete hanging guide at the end that explains what holds what – and what to never use in a rental.
Paper Christmas Crafts for Walls
Paper is the cheapest decorating material there is, and it punches far above its weight on walls. These eight ideas use basic paper, scissors, and tape.
1. Oversized 3D Paper Snowflakes
Giant three-dimensional snowflakes made from white paper bags or cardstock turn a blank wall into a winter wonderland. Materials: 6-9 white paper bags or 12×12 cardstock sheets per snowflake, stapler, hot glue. How to hang: Attach a loop of fishing line to the top point and hang from a small clear Command hook. Cluster three snowflakes in different sizes for the best effect. Each snowflake takes about 15 minutes once you learn the fold.
2. Toilet-Paper-Roll Wall Art
Empty toilet paper rolls, cut into rings and glued into flower shapes, become surprisingly elegant wall art when spray-painted gold or white. Materials: 8-10 empty rolls, craft glue, spray paint, cardboard backing. How to hang: Glue the finished piece to a lightweight cardboard backing, then hang the backing with two medium Command picture-hanging strips. A 2-foot-wide piece weighs almost nothing.
3. Folded Paper Stars
Classic folded German paper stars (Froebel stars) in red, white, and gold look stunning scattered across a wall or strung as a garland. Materials: paper strips (cut from construction paper or wrapping paper), scissors. How to hang: For individual stars, use small dots of mounting putty directly on the wall. For a garland, thread stars onto twine with a needle and drape the twine between two Command hooks.
4. Framed Wrapping Paper Gallery Wall
Beautiful wrapping paper is art – frame it. A grid of 6-9 frames with coordinated Christmas papers creates a high-end gallery wall for the price of frames. Materials: wrapping paper in 2-3 coordinating patterns, inexpensive frames (all the same color), scissors. How to hang: Plan the grid on the floor first, then hang frames with Command picture-hanging strips (one set per frame). Keep 2 inches between frames for a clean gallery look.
5. Paper Chain Garland Wall Hanging
The childhood classic, elevated: make paper chains in a strict two-color palette (cream and deep green, or red and kraft) and drape them in swags. Materials: construction paper, stapler or glue stick. How to hang: Drape finished chains over small Command hooks placed 2 feet apart, letting the chain swag naturally between hooks. Three swags across a mantel wall looks intentional and festive.
6. Quilled Paper Ornament Display
Rolled paper strips (quilling) formed into ornament shapes and mounted on cardstock make delicate framed art. Materials: quilling paper strips or cut construction paper, craft glue, cardstock backing, frame. How to hang: Frame the finished piece like any art print and hang with Command strips. The frame protects the delicate quilling and makes it look like a purchased print.
7. Paper Fan Medallions
Accordion-folded paper circles in Christmas colors create bold, graphic wall decor – think oversized rosettes in red, green, and gold. Materials: 12×12 scrapbook paper, hot glue, string. How to hang: Hot-glue a string loop to the back of each medallion and hang from a Command hook. Arrange in a cluster of five in mixed sizes for a festive focal point above a console table.
8. Giant Paper Poinsettias
Oversized crepe-paper poinsettias in deep red with gold centers bring drama to any wall. Materials: red and green crepe paper, gold cardstock, floral wire, hot glue. How to hang: Wire each bloom to a small wreath form or directly to a Command hook with the wire wrapped around the hook. Three blooms in a vertical row flanking a doorway looks spectacular.
Holiday Card and Photo Displays
Christmas cards and family photos deserve better than a pile on the counter. These seven displays turn them into wall decor.
9. Holiday Card Wall with Twine
String twine horizontally across the wall and clip Christmas cards to it with mini clothespins – a display that grows as more cards arrive. Materials: natural twine, 20 mini clothespins, scissors. How to hang: Stretch twine between two Command hooks (or small nails if you own), keeping it taut. Hang 2-3 rows, 12 inches apart. Clip cards along the twine, mixing orientations for a casual look.
10. String Lights and Photo Wall
Drape warm-white string lights in loose swags and clip favorite holiday photos to the wire with tiny clothespins – decor and lighting in one. Materials: 1-2 strands LED string lights (battery or plug-in), 15 mini clothespins, printed photos. How to hang: Secure the light strand with clear Command light clips every 12 inches, draping in gentle swags. Clip photos along the strand. Use LED lights only – they stay cool against paper photos.
11. Framed Quotes with Washi Tape
Print your favorite Christmas quotes or lyrics in pretty fonts, then frame them with washi tape borders directly on the wall – no frames needed. Materials: printed quotes on cardstock, patterned washi tape. How to hang: Tape each print to the wall with washi tape, then frame it by running washi tape around all four edges like a border. Washi tape removes cleanly from paint, making this the ultimate renter craft.
12. Clothespin Photo Garland
A step up from the card wall: print black-and-white family Christmas photos from years past and clip them to a ribbon garland for a nostalgic timeline. Materials: wide ribbon, 12-15 clothespins, printed photos. How to hang: Hang the ribbon between two Command hooks with a gentle swag, then clip photos along it in chronological order. Guests love spotting themselves through the years.
13. Memo Board Card Display
A fabric-covered memo board with ribbon lattice holds Christmas cards without a single hole in the wall. Materials: foam board or cork board, fabric, ribbon, stapler or glue. How to hang: Lean the finished board on a mantel or shelf against the wall – no hanging needed at all. Tuck cards under the ribbon lattice as they arrive.
14. Washi Tape Photo Frames on the Wall
Skip frames entirely: stick photos directly to the wall and outline each one with washi tape to create instant graphic frames. Materials: printed photos, washi tape in 2-3 patterns. How to hang: Attach each photo with a small loop of washi tape on the back, then run washi tape around it in a rectangle with mitered corners. Arrange in a grid for a modern gallery effect that peels off cleanly in January.
15. Through-the-Years Family Photo Gallery
Dedicate one wall to framed family Christmas photos from every year – it becomes a tradition guests look forward to. Materials: matching frames (one per year), printed photos. How to hang: Use identical frames and Command picture-hanging strips for a clean grid. Add each year’s photo after Christmas, so the gallery grows annually. Label the back of each frame with the year.
Wreaths and Greenery on Walls
Wreaths are not just for doors. A smaller wreath or swag on an interior wall adds texture and that fresh-greenery look anywhere.
16. Mini-Wreath Row
A horizontal row of three to five small wreaths makes a charming focal point above a sofa or sideboard. Materials: 3-5 small faux wreaths (6-8 inches), ribbon in one color. How to hang: Tie a ribbon loop to each wreath and hang from individual small Command hooks spaced 10 inches apart in a straight row. Use a level and painter’s tape to mark the line first. Vary the ribbon lengths slightly for a relaxed feel, or keep them identical for formality.
17. Branch Advent Wall
Hang a bare branch horizontally and suspend 24 small numbered bags or boxes from it – an advent calendar that doubles as wall art. Materials: sturdy branch (3-4 feet), 24 small kraft bags, number stickers, twine, mini clothespins. How to hang: Suspend the branch from two ceiling or wall hooks with twine (use Command ceiling hooks or drapery brackets). Hang numbered bags from the branch at varying heights with twine loops. Fill bags with small treats or activity notes.
18. Ribbon Grid Mural
Create a grid of wide ribbon directly on the wall, then clip ornaments, cards, and greenery to the intersections – a living mural you rearrange all season. Materials: wide ribbon (2-3 inches), mini clothespins, ornaments. How to hang: Run vertical ribbon strips from a horizontal top ribbon, securing the top strip to the wall with Command strips every 12 inches. Let verticals hang free. Clip decorations to the grid with clothespins. Everything lifts off in January.
19. Hanging Eucalyptus Swag
A loose swag of eucalyptus and pine hung horizontally brings a fresh, modern, minimalist Christmas feel to bedrooms and hallways. Materials: 6-8 faux eucalyptus and pine stems, floral wire, ribbon. How to hang: Wire stems together into a 3-foot swag, then hang it from two small Command hooks using the wire ends. Add a simple ribbon bow at the center. Keep the arrangement airy – negative space is the point.
20. Pinecone Wall Hanging
Pinecones strung at different heights from a branch or dowel create a rustic-chic wall hanging with beautiful natural texture. Materials: 8-12 pinecones, twine, small screw eyes, 2-foot dowel or branch. How to hang: Screw tiny eyes into the tops of pinecones, thread twine through, and tie to the dowel at staggered heights. Hang the dowel from two Command hooks. Dust pinecone tips with white paint for a frosted look before assembling.
21. Dried Orange Slice Garland
Translucent dried orange slices strung on twine glow beautifully against a wall, especially near a window with backlight. Materials: dried orange slices (store-bought or oven-dried), twine, large needle. How to hang: Thread slices onto twine with a darning needle, spacing them 3 inches apart. Drape between two Command hooks. Make two or three strands at different lengths for a fuller display. The citrus scent is a bonus.
22. Mistletoe Kissing Ball
A ball of faux mistletoe and greenery hung in a doorway or archway is a classic romantic Christmas touch. Materials: 4-inch foam ball, faux mistletoe sprigs, greenery picks, ribbon, hot glue. How to hang: Cover the foam ball with greenery using hot glue, tie a long ribbon around it for hanging, and suspend from a Command ceiling hook in a doorway. Hang it high enough that tall guests do not bump it.
Removable Christmas Wall Decals
Wall decals deliver big impact with zero damage – perfect for renters, dorms, and anyone who wants Christmas up and down in minutes.
23. Snowflake Decals
Removable vinyl snowflakes in white and silver scattered across a wall or window create an instant winter scene. Materials: removable snowflake wall decals (one or two packs). How to hang: Peel and stick – that is the whole point. Plan the layout on the floor first, then apply from the center outward. Smooth with a credit card to avoid bubbles. They peel off cleanly in January and most packs are reusable.
24. Christmas Tree Decal for Small Spaces
A large wall-decal Christmas tree gives small apartments the tree experience without sacrificing floor space. Materials: large removable Christmas tree wall decal. How to hang: Apply to a clean, dry wall following the package instructions, smoothing outward from the center. Hang a few lightweight ornaments from the decal’s branches with tiny removable hooks for a 3D effect. Ideal for studios, dorms, and kids’ rooms.
25. Holiday Quote Decals
Script-lettered vinyl quotes – Merry Christmas, Joy to the World, Let It Snow – add typography-driven style above mantels and entryways. Materials: removable quote wall decal. How to hang: Use the included transfer tape to position the quote, burnish with the smoothing tool, and peel the transfer away slowly. Measure twice: center the quote over the furniture below it for a designer look.
26. Window Clings
Static-cling snowflakes, Santa scenes, and winter villages dress up windows and mirrors with no adhesive at all. Materials: static-cling window decals. How to hang: Clean the glass, mist lightly with water, and press clings into place – static does the rest. Reposition as many times as you like. They store flat between seasons and work on mirrors and glass cabinet doors too.
27. Chalkboard Decal Labels
Removable chalkboard labels turn any wall into a countdown calendar, gift list, or holiday message board. Materials: chalkboard wall decal (large rectangle or calendar shape), chalk markers. How to hang: Stick to a smooth wall section at eye level. Write your Christmas countdown, menu plan, or a rotating holiday message. Wipe clean with a damp cloth and rewrite all season.
28. Advent Calendar Decal
A wall-decal advent calendar with 24 numbered pockets combines decor and tradition without any hardware. Materials: fabric or vinyl advent calendar wall hanging with pockets. How to hang: Most come with a top sleeve – slide a dowel through and hang from two Command hooks. Fill pockets with small treats, notes, or activity cards. Kids love moving the marker each morning.
Shelves and Ledges Christmas Displays
Floating shelves and picture ledges are ready-made display stages. Dress them for Christmas and your walls are decorated with zero new holes.
29. LED Candle Shelf
A floating shelf lined with LED pillar candles at varying heights, tucked into faux greenery, glows beautifully at night. Materials: 3-5 LED pillar candles (varied heights), 2-3 faux greenery sprigs, small pinecones. How to arrange: Place the tallest candle at one end and step down in height. Weave greenery along the shelf front to hide candle bases. Set all candles to the same timer so they glow together at dusk. Nothing hangs – the shelf does all the work.
30. Picture-Ledge Card Display
Picture ledges are perfect for Christmas cards – just stand cards along the ledge like frames, no clips or pins needed. Materials: Christmas cards as they arrive. How to arrange: Layer cards along the ledge, overlapping slightly, tallest in back. Mix in a small framed photo or ornament for depth. As new cards arrive, rotate them to the front. When the holidays end, the ledge returns to everyday use.
31. Stocking Shelf Display
No mantel? Hang stockings from the front edge of a sturdy floating shelf with removable hooks. Materials: stockings, small removable adhesive hooks. How to arrange: Stick one hook per stocking under the shelf’s front edge, spacing evenly. Hang stockings by their loops. Top the shelf with greenery, candles, or a small village scene to complete the mantel illusion.
32. Village House Ledge
A deep picture ledge becomes a Christmas village street – line up ceramic houses with faux snow and micro lights. Materials: 3-5 small ceramic houses, faux snow blanket strip, battery micro fairy lights. How to arrange: Lay the snow strip along the ledge, arrange houses tallest in back, and weave lights between them. The ledge’s lip keeps everything secure. Add tiny bottle-brush trees between houses for a finished street scene.
33. Bottle-Brush Tree Shelf Scene
Cluster bottle-brush trees in different sizes and colors on a shelf with faux snow for a miniature winter forest. Materials: 5-8 bottle-brush trees (varied sizes), faux snow, small wood slices. How to arrange: Set trees on wood slices at different depths along the shelf, tallest in back. Sprinkle faux snow around the bases. Add a string of micro lights for evening glow. This takes ten minutes and looks like a boutique display.
34. Garland-Draped Shelf
Drape a faux garland along the front of a floating shelf, letting it swag between hidden supports, then tuck in ornaments and lights. Materials: 6-foot faux garland, 10-12 small ornaments, battery fairy lights. How to arrange: Secure the garland to the shelf with small removable hooks or museum putty underneath the front edge. Weave lights through the greenery and nestle ornaments into it. Let the ends trail slightly for a relaxed, lush look.
35. Ornament-Filled Apothecary Jars on a Shelf
Clear glass jars filled with ornaments in one color family make simple, striking shelf decor. Materials: 2-3 glass apothecary jars or canisters, ornaments in coordinating colors. How to arrange: Fill each jar with ornaments, largest at the bottom. Group jars in odd numbers on the shelf with greenery tucked around the bases. This works on kitchen shelves, bookcases, and bathroom counters too.
Damage-Free Hanging Guide
The right hanger makes the difference between festive walls and a lost security deposit. Here is what to use – and what to avoid.
Command strips and hooks: your best friend
Adhesive strips and hooks hold the most weight damage-free. Small hooks hold up to 1 pound (paper crafts, garlands); medium hooks hold up to 3 pounds (small wreaths, stockings); large hooks and picture-hanging strips hold up to 7+ pounds (framed art, mirrors). Always clean the wall with rubbing alcohol first, press the strip firmly for 30 seconds, and wait one hour before hanging. To remove, pull the tab straight down – never outward.
Mounting putty: for the lightest items
Removable mounting putty holds paper items under a few ounces – paper stars, lightweight cards, small photos. Warm it in your hands first, use pea-sized balls in each corner, and press firmly. Avoid on fresh paint (under 30 days old) or flat-finish paint, where it can pull the finish. Never use putty on wallpaper.
Washi tape: decoration and hanger in one
Washi tape holds paper directly on the wall and removes cleanly from most painted surfaces. It is ideal for taping up prints, creating tape frames, and temporary borders. Press it down fully – half-stuck tape peels and takes paint with it. Test on a hidden spot first if your paint is old or matte.
What never to use in rentals
Skip nails and screws (obvious), but also avoid: hot glue applied directly to walls or paint (it rips paint off); duct tape or packing tape (adhesive bonds permanently); thumbtacks in drywall (small holes still cost you); and adhesive hooks left up for months in heat (the adhesive cures and becomes permanent). When in doubt, use a removable hook rated for twice the weight you are hanging.
Frequently Asked Questions
Can I decorate my walls for Christmas in a rental without losing my deposit?
Absolutely – nearly every idea on this page is renter-friendly. Stick to Command hooks and strips, washi tape, static-cling decals, and displays that lean on shelves or mantels rather than hanging. The golden rule: if it peels off cleanly in a test spot, it is safe. Take photos of your walls before decorating so you can prove their condition at move-out.
How do I hang heavier items like wreaths on plaster walls?
Plaster is strong but brittle – it cracks if you hammer into it. For items under 5 pounds, use large Command hooks (they grip plaster well once the wall is cleaned with alcohol). For heavier wreaths, hang from existing hardware: drapery rods, picture rails, or mantel hooks. Never drill into plaster without a masonry bit and a clear plan, and in rentals, do not drill at all.
What is the best way to take Christmas wall decor down without damage?
Work in reverse: remove decorations first, then hangers. Pull Command strip tabs slowly straight down along the wall (not outward) – if a tab breaks, warm it with a hair dryer for 30 seconds and try again. Peel washi tape back on itself at a low angle. Roll decals off slowly; if one resists, warm it with the hair dryer. Patch any surprises with a dab of matching paint.
For more holiday inspiration, explore our Christmas decor ideas and DIY gift wrapping ideas to coordinate your whole-home look.
Last updated: October 2026